Get your AirBrush on with Bloglovin!
I rock diamonds on my neck. Got diamonds on my records. Beyonce said it best. Who are we kidding, Beyonce always says it best but for today’s particular tutorial we will be rocking diamonds on our necks and also diamonds on our records if records happen to be in your picture. That’s right today we’ll be diving into the wonders of the Diamonds Filter and covering ourselves in glittery, sparkly frost for the world to see. Now, grab your sessiest pic and get ready to frost yourself from head to toe. Because, honey, you’re a diamond in the sky.
VVS’s on me
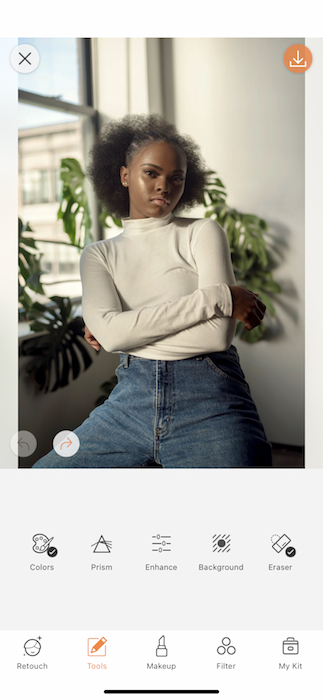
So first and foremost, the Diamonds Filter does not adjust the way all it’s other friends do. She shows up as she is and all we can do is love her for her frost. Due to this we recommend doing some minor adjustments before getting started. Head over to your Tools Tab and the the Enhance Tools. You’ll find this by tapping the icon in between Prism and Background.
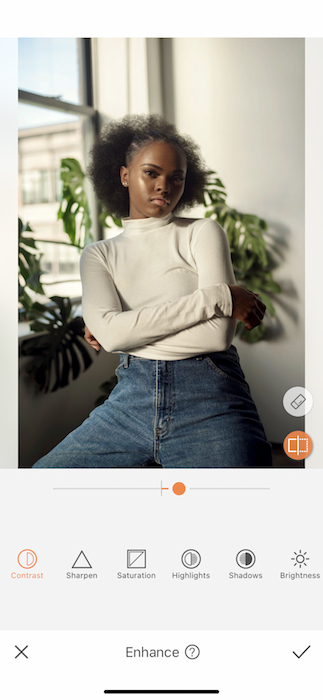
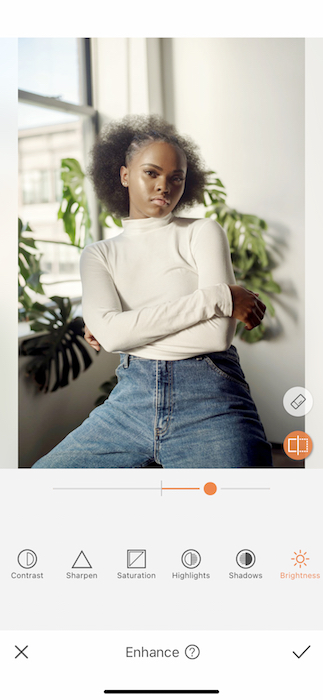
In order for the Diamonds Filter to be at it’s best we’ll need to make sure there are plenty of highlights and contrast for it to work with. Start by raising the Highlights just a bit. After that you can raise the brightness but be moderate. The Diamonds Filter already lightens the image so you don’t want to over light yourself.
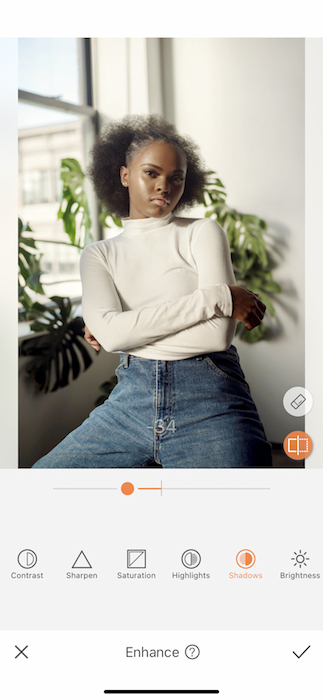
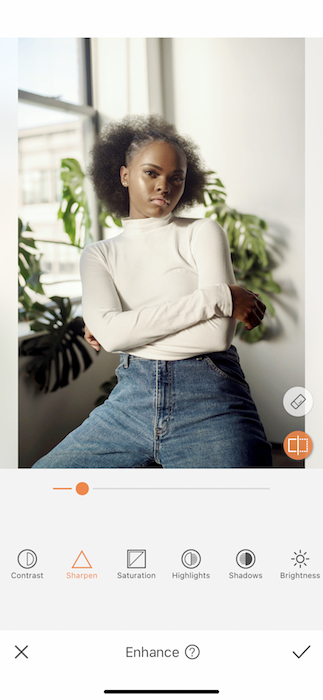
After that you can move on to decrease the Shadows which increase the contrast of the images’s shadows. A great way to maintain the quality of the image as you make edits is to make minor adjustments to the definition by raising the Sharpness of the image. You don’t want over do it as you may end up with an overly processed image.
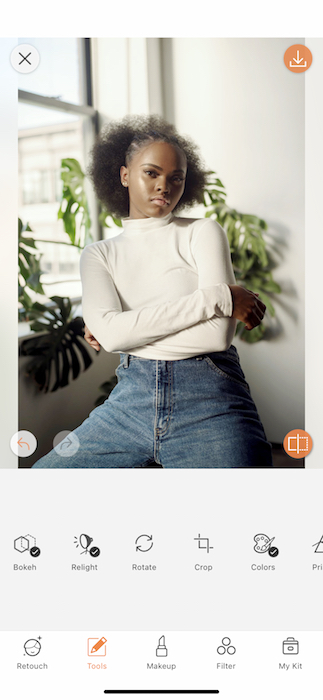

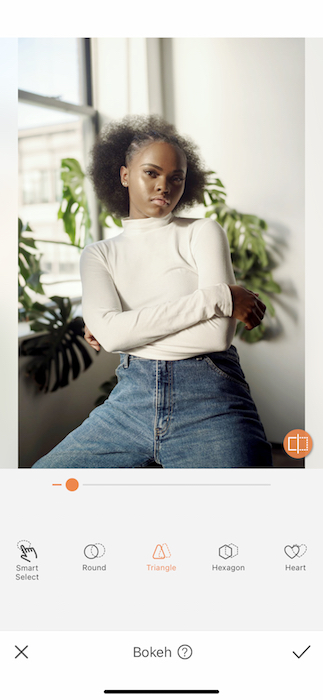

When it comes to the Diamonds Filter subtlety is not our best friend. For this reason we want to make sure the focal point (you) is very clear. The Bokeh tool allows you to blue out the surroundings to give you a pro status portrait edit. It’s important to use the Bokeh Tool in moderation. You can also change the motif of the blur from Triangle, to Hexagon, even Hearts.
24 Karat


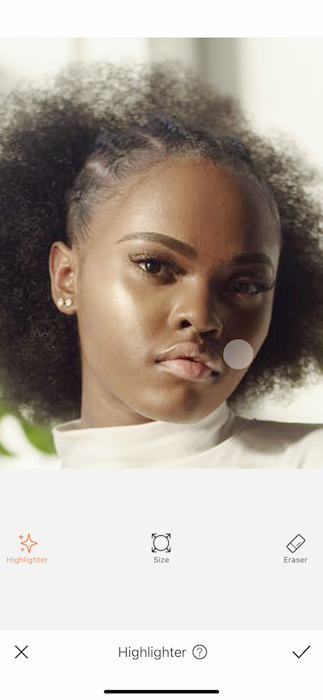
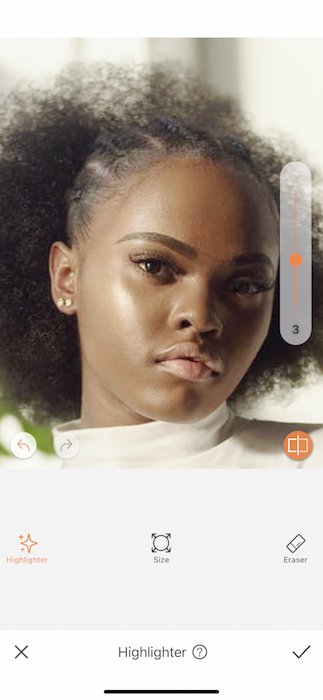
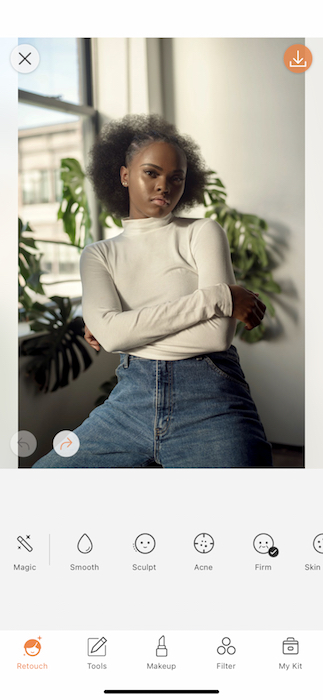
Now, just because we’re gonna use a Filter doesn’t mean we should get lazy on the details. We all deserve to give our gorgeous faces a lil love before the grand finale. Head on over to your Retouch Tab and find the Highlighter Tool for some luscious face love. Brush across the key areas like cheekbones and adjust the tool strength to your liking.
Diamonds in the sky
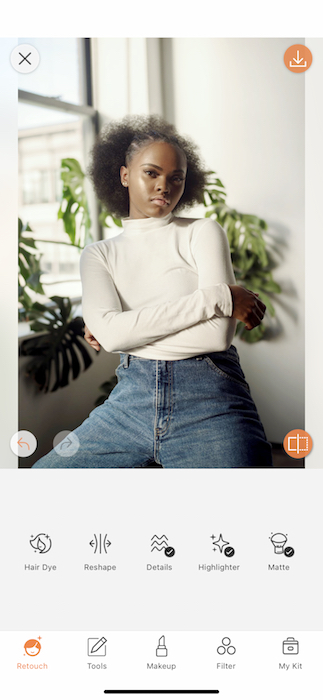
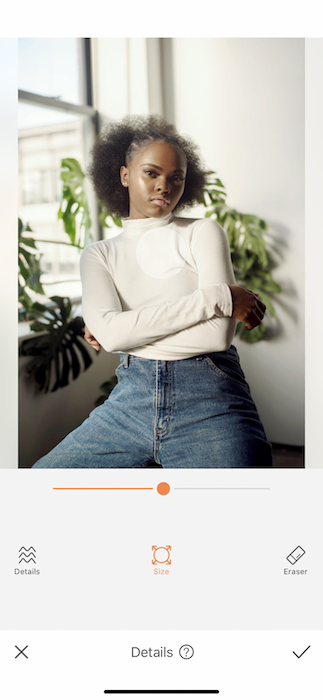
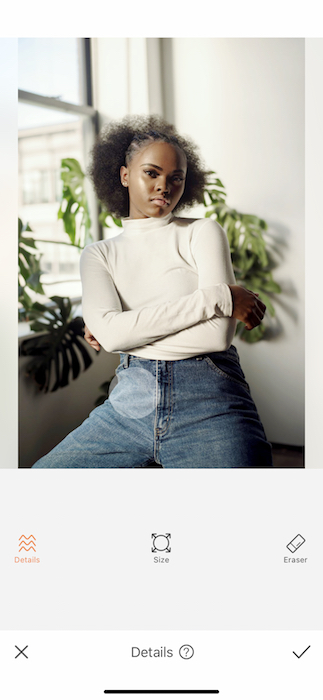
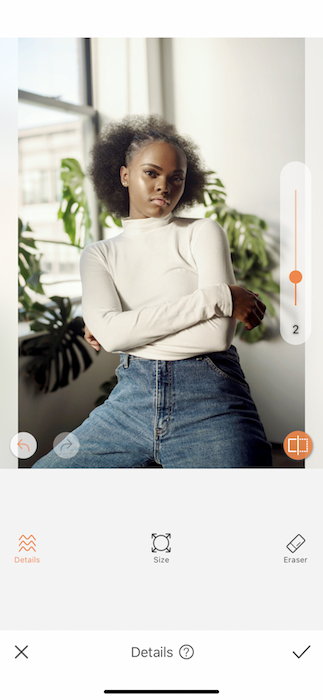
Listen, we know, we know, we just want to get to the Filter but proper housekeeping is important! We want to make sure you get out of this with the best edit ever. That’s why our next step is the Detail Tool. The Details Tool does the lord’s work and emphasize the selected area to make sure it’s as clear as day. This way you avoid having to Blur or overly Sharpen your image. The Details Tool can be found in your Retouch Tab and functions like most of our tools. Start by adjusting the brush size then swiping across the desired area. Once you’ve finished you can adjust the strength of the tool by dragging the toggle on the right side.
The Final Frontier
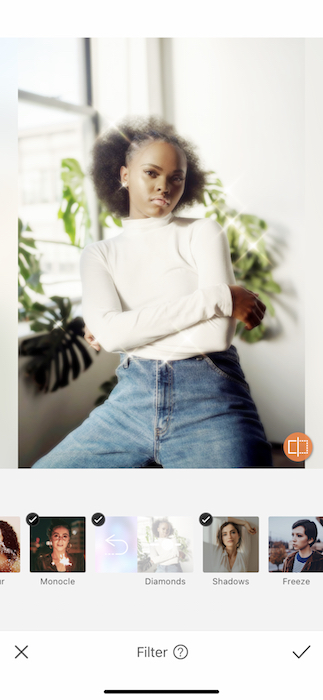
We’re here. We’re finally here. The beauty of the Diamonds Filter is that it just takes one click. One solid click then BAM we’re in the lap of luxury.

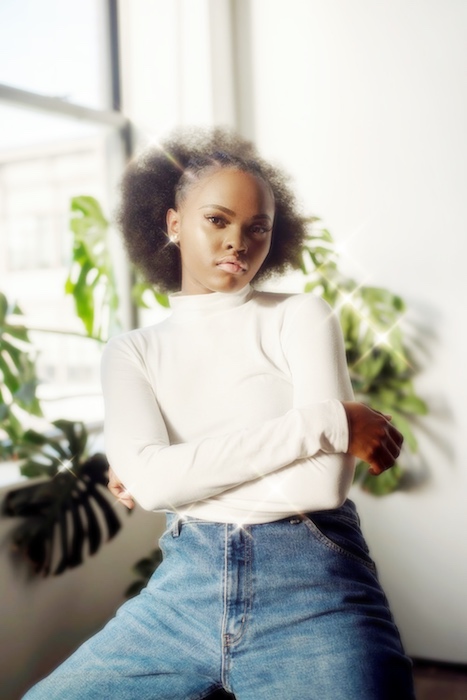
Well this has been quite the journey. As Beyonce would say, Let’s go little kitty kat. Is that Diamond related? No but Beyonce is always appropriate. Now that you’re a frosty diamond diva don’t go on and forget about your friends over here at AirBrush ! Make sure to upload your photos and tag #AirBrushApp on Instagram to be featured on our profile, @AirBrushOfficial.
- AirBrush Premium Feature: Sculpt - 03/11/2023
- Make the most of the Sculpt tool this Holiday Season - 02/11/2023
- How it’s Started, How it’s Going. Get that Glow Up! - 30/03/2021


- AirBrush Premium Feature: Sculpt - 03/11/2023
- Make the most of the Sculpt tool this Holiday Season - 02/11/2023
- How it’s Started, How it’s Going. Get that Glow Up! - 30/03/2021